
Training a diffusion model from scratch might sound like diving into a 10-layer cake recipe without ever having baked a muffin—but if you’re a developer who loves getting into the technical weeds, this adventure could be just your thing.
In this guide, I’ll walk you through the entire process—from prepping your dataset to deploying your trained model—while sharing tips and lessons I wish I’d known when I started.
What Are Diffusion Models Again?
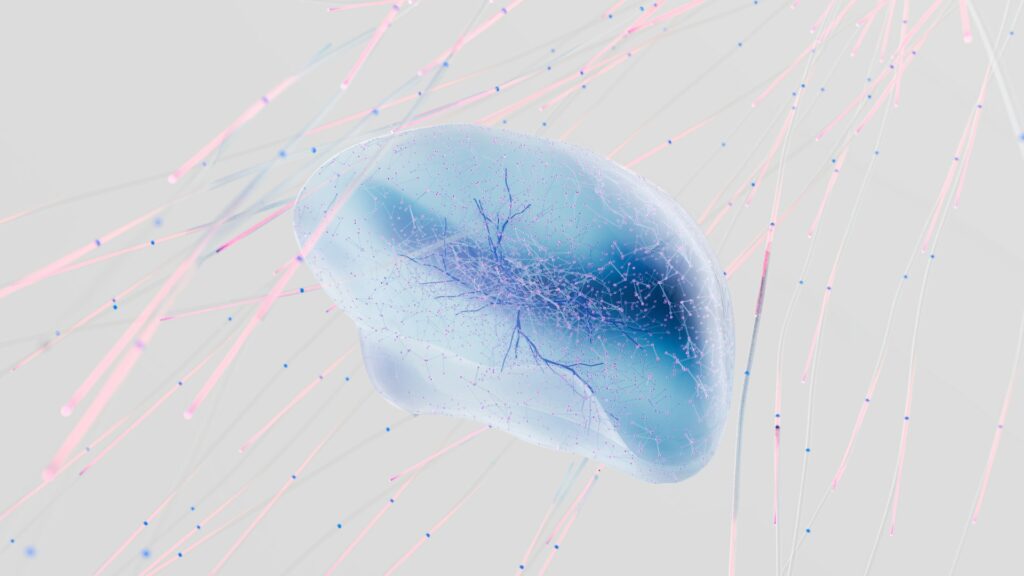
At a high level, diffusion models generate images by reversing a noise process. They start with pure noise and gradually “denoise” it step by step to form a clear image. Think of it like watching static turn into a photograph, one pixel at a time.
Compared to other generative models, diffusion models are known for producing high-quality, detailed images—but they’re also computationally heavy and slower to train. Prepare for a marathon, not a sprint.
Step 1: Curate Your Dataset
Like any machine learning project, the quality of your dataset makes or breaks your results. Here’s what you need:
High-resolution images (avoid blurry or low-quality examples).
Domain-specific content (e.g., if you want to generate car images, make sure your dataset is filled with diverse car angles, colors, and types).
Optional labels or categories, if your workflow benefits from organization or filtering.
You don’t necessarily need millions of images. For niche use cases—like generating vintage robot art or fantasy maps—you can work with smaller datasets and apply data augmentation techniques to stretch your coverage.
Step 2: Set Up Your Training Environment
Training a diffusion model from scratch requires significant computing power. Unless you’ve got a beast of a GPU at home, cloud platforms like AWS, GCP, or Paperspace can be your best friend.
Frameworks: PyTorch and TensorFlow are the go-to libraries. Stick with the one you’re comfortable with.
Tracking tools: Platforms like Weights & Biases or TensorBoard will save you countless hours by logging experiments and metrics during training.
Pro tip: Use a virtual environment and keep your dependencies tidy. You’ll thank yourself later.
Step 3: Choose (or Build) Your Model Architecture
Most diffusion models rely on U-Net-like architectures, which are great at refining image details through multiple layers.
If you’re new to custom architecture design, start with an open-source baseline model (like DDPM, Stable Diffusion, or Imagen-style implementations), then slowly tweak hyperparameters such as:
Learning rate
Batch size
Number of diffusion steps
Noise schedule
This is your playground—experiment, adjust, and iterate.
Step 4: The Training Loop
This is where the real grind begins.
Monitor loss: A sudden spike or stall may indicate issues with your learning rate or data quality.
Check samples regularly: Early outputs will look like noise, but with time, they should begin to form recognizable shapes and colors. Don’t panic if progress feels slow—it’s normal.
Patience pays: Depending on your dataset size and compute power, training might take days or even weeks.
Step 5: Fine-Tune for Specific Use Cases
Once you’ve trained your base model, you can fine-tune it on a smaller, more focused dataset. For instance, if your model learned general nature scenes, you can fine-tune it to specialize in “sunsets over lakes” or “geese in foggy fields.”
Use a smaller learning rate for fine-tuning, and fewer training epochs. This approach saves time and improves specificity without retraining from scratch.
Step 6: Common Pitfalls and How to Handle Them
Overfitting: If your outputs all start to look the same, your model may be memorizing. Add more image variety or use augmentation.
Underfitting: If your images never evolve past vague shapes, you may need more data, longer training, or a better noise schedule.
GPU out-of-memory errors: Try smaller batch sizes, half-precision training (fp16), or gradient checkpointing.
Step 7: Deploy and Share
Once your model is performing well, you can:
Wrap it in an API: Let users generate images via a web service.
Build a local tool: Save outputs directly to a directory for design work or prototyping.
Create an interactive UI: Add sliders or prompt inputs for a fun and flexible image generation tool.
Don’t be afraid to share imperfect outputs—quirky artifacts can spark creative ideas or unexpected use cases.
Final Thoughts
Training a diffusion model from scratch is no small feat. It takes computing muscle, data curation skills, and a fair bit of patience. But the reward is a powerful, tailor-made generative tool that you deeply understand—and can adapt to suit your creative or technical goals.
So roll up your sleeves, fire up that GPU, and get ready to turn digital noise into something extraordinary.
Frequently asked questions
How do I get started with diffusion models?
Diffusion models work by gradually turning data (like an image) into random noise through a series of steps—then learning how to reverse that process to recreate the original data. To get started, explore beginner-friendly guides and frameworks like PyTorch or TensorFlow implementations, and experiment with pre-trained models before diving into training your own from scratch.
What’s the training process for DDPM (Denoising Diffusion Probabilistic Models)?
Training a DDPM involves two key phases:
Forward Process – Adds noise to input images over multiple steps, simulating how an image becomes unrecognizable.
Reverse Process – Trains a model to gradually remove that noise and recover the original image.
The goal is to teach the model how to “de-noise” effectively, enabling it to generate new, high-quality images from random noise.
How do diffusion models generate images?
Diffusion models create images by reversing a noise process. During training, they learn how to add noise to real images and then remove it. When generating new content, the model starts with pure noise and applies its learned denoising steps to sculpt it into a realistic image.
How many images are needed to train a diffusion model from scratch?
The number of images needed depends on your subject:
Human Faces: You’ll typically need around 234–527 images for models like Stable Diffusion to learn facial features well.
Public Figures (e.g., Politicians): Fewer images may suffice due to consistency in available data.
Celebrities: Often require more varied images due to different lighting, makeup, and angles.
For niche subjects, careful curation and data augmentation can help you achieve decent results with fewer images.